Today’s update provides a new interesting feature in portatour® for companies with at least 10 field reps: The assignment of user accounts to user groups.
What is the purpose of user groups?
Without user groups every supervisor can log into all other user accounts with a single click. If this is what you want in the future, then you won’t need user groups.
If, however, you want to restrict the access to certain users, then the new user groups will be just the thing for you. If, for example, you have divided your sales territory into areas with area managers (=supervisors), who each shall only have access to their own team of sales reps.
How to activate user groups
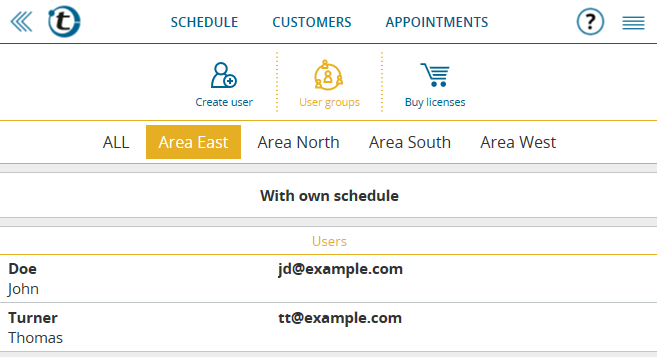
The activation and editing of user groups is exclusively reserved to administrators of company accounts with at least 10 licenses. Go to Options and User Management and click the new button User groups in the menu bar.

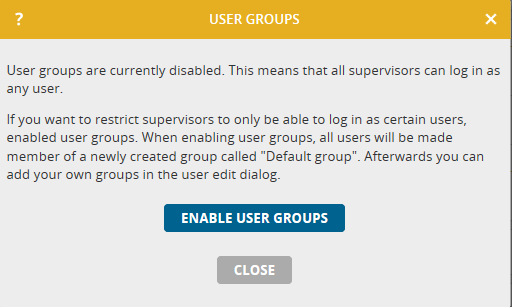
This opens a window where you click the button Enable user groups. During the enabling process all users will be initially assigned to the automatically created user group called “default group“. Hint: This will not modify portatour®’s behavior as all users still belong to the same user group after this step.
How to administer user groups
Go to the already known editing window of individual user accounts to create user groups and to assign users at the same time.

Click New group to create a new user group. Then enter the name of the new user group. All existing user groups will be shown in the Member of list. Select those groups the user should be a member of. Multiple selection is possible − in Windows press the Ctrl key while clicking. User groups without members will be automatically removed.
Administrators will always have access to all users, irrespective of the user groups. The user list allows you to filter by user groups, which improves clarity in case you have many users.
Exemplary implementation of user groups
Take the following steps in order to create the above example of sales areas:
- Edit the sales manager of the first area
- Click “New group” and enter the name of the area, e.g. “Area North”
- Unselect the “default group” membership. Only “Area North” shall be selected.
- Save the sales manager
- Then edit one sales rep after the other for that region
- Select “Area North” under “Member of”. Only “Area North” shall be selected.
- Save the user
Repeat steps 1-7 for every sales area.
Subsequently, each sales manager can only see the members of his respective territory in the user list and can only log into those user accounts.
The company’s supra-regional sales manager becomes a member of all user groups to ensure he has access to all users.
Summary of user groups’ effects
- Supervisors will only see those users in the user list who are members of a common group.
- Subsequently, supervisors can only log into those user accounts whom they can see in the user list.
- Users and supervisors can only use the “Transfer customers” feature for target users who are members of a common group.
- If a supervisor carries out an application check it will only contain users who are members of a common group.
Further hints for user groups
- As soon as you have enabled user groups every user must be a member of at least one group. This is why initially the “default group” will be created and each user will be a member of that group at first. Proceed to creating own groups and remove the “default group” membership. As long as all users are members of the “default group” you will achieve no access limitations.
- The names of user groups may not exceed 40 characters.
- One user may be a member of no more than 25 groups.
- User groups without members will be automatically deleted. Thus, remove all memberships in order to explicitly delete a user group. To find the members, filter the user list for the group to be deleted.
- A user group’s name cannot be changed retrospectively as it is used as a key. Instead, create a new group and assign new users to it.
- You can mass edit user groups by exporting and importing the user list as an Excel or CSV file. The file contains the new column “user groups”, in which the groups − separated by semicolons − can be exported or imported. This also enables the automated synchronization of user groups via API.
- Whenever you disable the user groups on a company level, all user groups and memberships will be deleted.
We hope you enjoy the new user groups and look forward to receiving your feedback on feedback@portatour.com .