Category Archives: Anywhere

Exporting current customer urgency

Since last week’s portatour® update, you will receive the current urgency (not due, due, overdue) for each customer when exporting customer data. These urgencies correspond to the three colors (green, yellow, red) on the map.

Regardless of the format (CSV, Excel, ODS), the exported file contains two new columns:

  • Current urgency ID: 0 is for “not due”, 1 for “due”, and 2 for “overdue”. Use this value if you want to further process the urgency programmatically.
  • Current urgency name: Contains the text “not due”, “due”, or “overdue”

Note: The urgency columns are also included in the Excel OData export (available as of 2 user licenses), where they can be easily used for pivot tables.

Drag and Drop in the Calendar

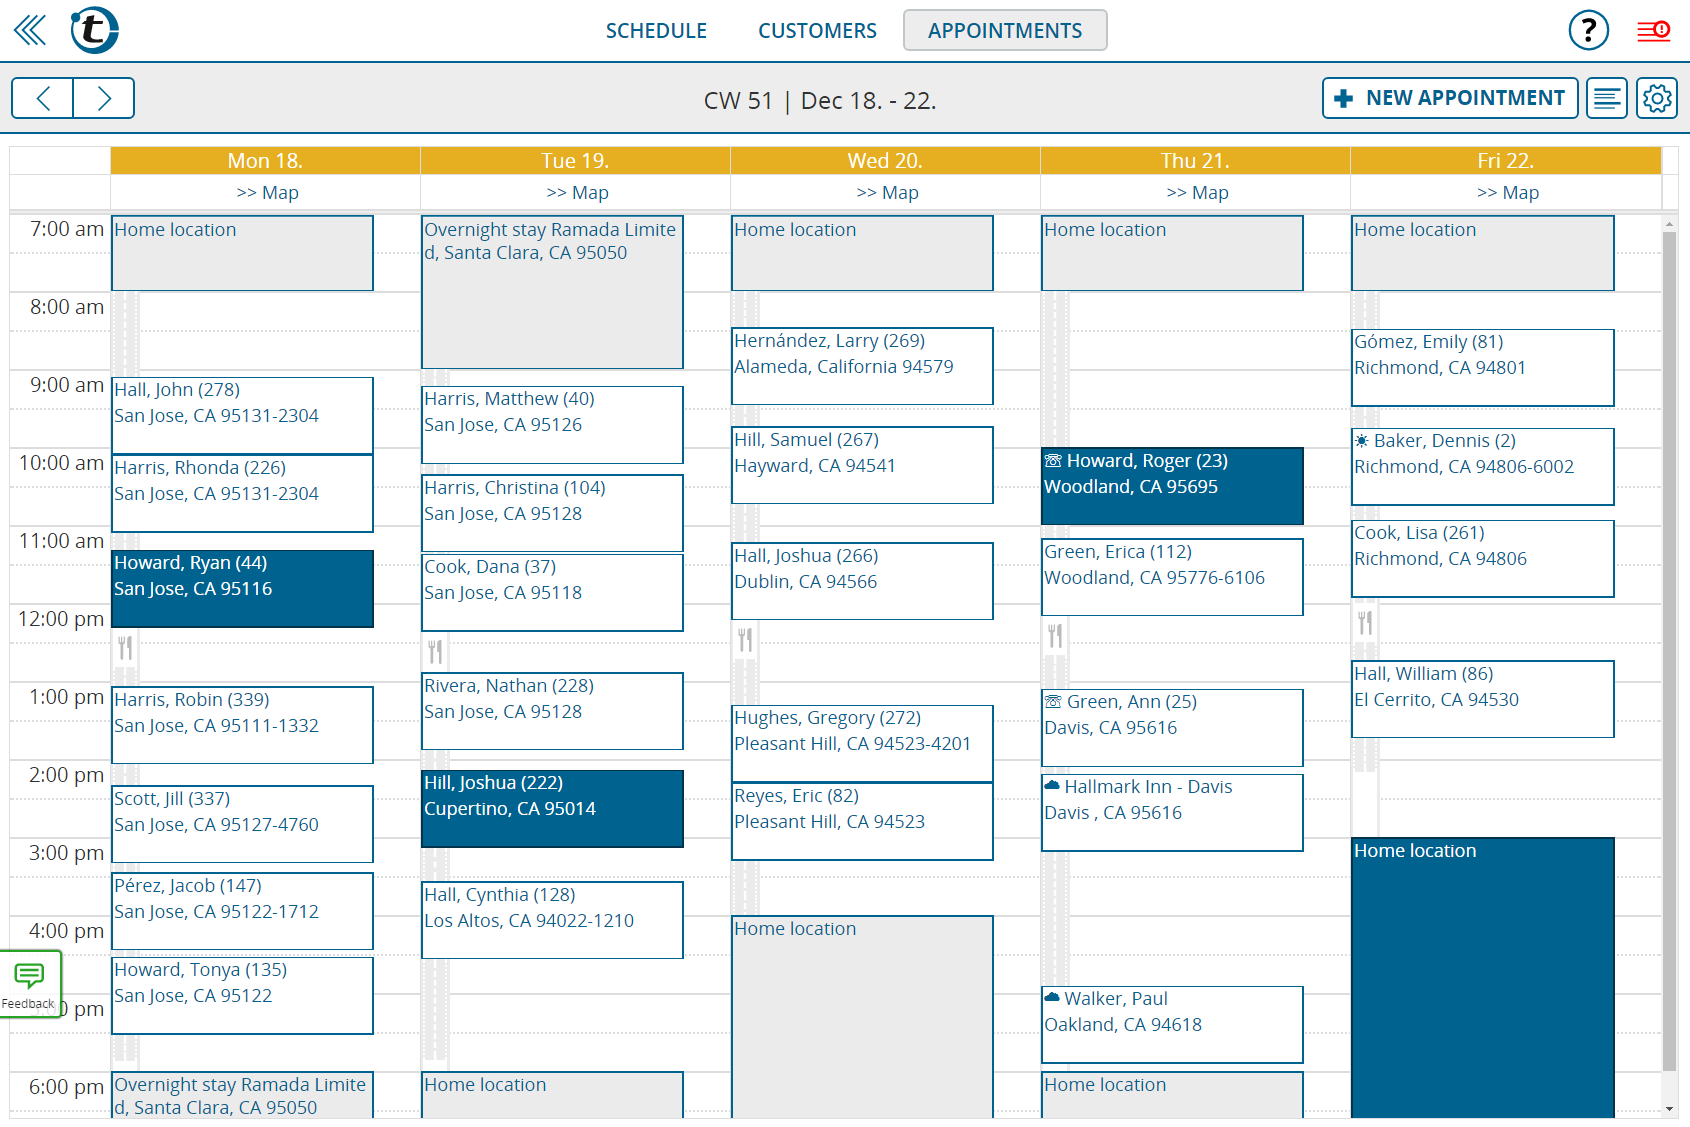
Last week, portatour® was updated with a feature that many users have been waiting for: Drag and Drop in the Calendar. This means that you can now move appointments in the calendar with your mouse, or on touch-screens with your finger.

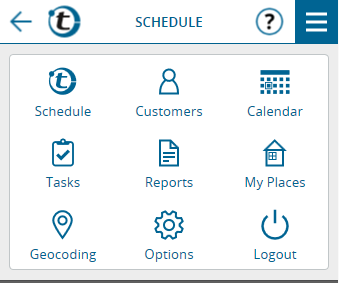
To access the calendar, in the main menu, click Appointments and then Calendar.

To move an appointment to another day or time, simply drag it to the desired timeslot in the calendar by clicking and holding the left-mouse button. When you release it, you are prompted to confirm the new timeslot. Alternatively, let portatour® choose a suitable time from a route-optimization perspective by selecting Flexible on the Day.

If an update of the schedule is required after moving an appointment, the red Update icon appears as usual at the top left. Click it to re-optimize your schedule.

Not only can fixed appointments (dark blue entries) be moved in the calendar. Call suggestions generated by portatour® (white entries) can now  be moved to another day or time using drag and drop, too. Upon moving, portatour® automatically converts the call suggestion into a fixed appointment, so that it will remain at the desired time regardless of subsequent schedule updates.

Drag and drop is also supported on touch screen devices (smartphones, tablets). Note that before you move an appointment, you must press it for at least ½ second to enable the drag and drop mode. The appointment appears with a shadow around it as soon as it is ready to be moved.

Scrolling up and down within working hours is also possible while moving calendar items. To do so, drag the appointment to the top or bottom of the calendar without releasing it — the calendar automatically starts to slowly scroll.

Notes:

  • When you move an appointment, automatic forward and backward scrolling is not yet supported in the calendar. We are working on it…
  • In general, you cannot move a call report by using drag and drop.

Other new features in the calendar:

  • Toggle Timescale: If your visits are often shorter than 30 minutes and you like to work with the calendar’s day or week view , it’s a good idea to change the calendar’s time scale from 30 to 15 minutes in the calendar options (cogwheel icon at the top right). The appointments are displayed twice as tall in the calendar and thus contain more text – e.g. the complete customer name or the place of the appointment.
  • Appointment List vs. Calendar: When you click Appointments in the main menu, you have always been presented with the list of appointments, from where you could then select the calendar view. Since the last update, portatour® remembers if you clicked to the calendar the last time, and if so, opens it directly instead of the appointment list. To navigate from the calendar to the appointment list, you can always click the new List button at the top right (between the + icon and the cogwheel icon).

Our developers welcome your feedback at feedback@portatour.com.

Filtering in the portatour® Report

Until now, the statistics of the portatour® Report have always included all reports created in portatour®. Since last week’s update, you can now filter certain report types directly in the portatour® Report.

To do this, click the black funnel icon. This is available in the portatour® Report in the following three sections: “Customer Call Reports”, “Daily Summary of Last and Current Week” and “My Key Figures of the Last 90 Days”.

An additional line appears with the report types that can be filtered. In parentheses, you can find the number of reports affected by report type. If you do not want to include the customer calls of a given type in the statistics below, remove the checkmark for the respective report category. All the values in the statistics shown in blue have an effect on filtering.

There are a total of six report types in portatour®. The following procedure describes how to create reports of these types in portatour® Anywhere:

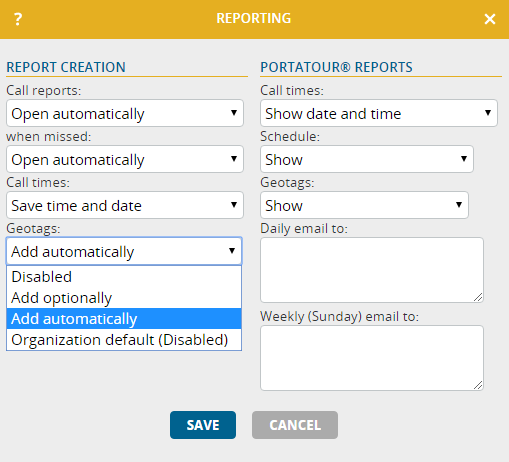
  • Customer Call: By clicking “Called Now” for a customer or “Took Place” for an appointment. The prerequisite for this is that reports for customer calls are enabled in the Reporting options (setting: “Ask Every Time”, “Open Automatically” or “Create Automatically”).
  • Missed: By clicking “Missed”  for a customer or an appointment. The prerequisite for this is that reports for missed calls are enabled in the Reporting options.
  • Other: By clicking “New Report” for a customer or “Took Place” for an appointment without location, for example, to log phone calls.
  • Start of work: By clicking “Clock In” in the Reports menu.
  • End of work: When you click “Clock Out” in the Reports menu.
  • Day off: By clicking “Report Day Off” in the Reports menu.

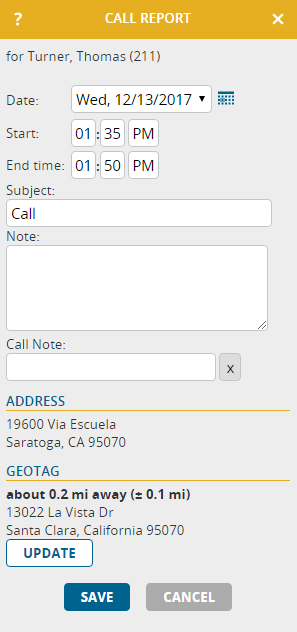
Note: In portatour® Anywhere, when you create or edit a report, you see the report type displayed in the form’s title bar . When you export the reports as an Excel or CSV file, you find the report type in a column as a number (0-5) and broken down into a second column for the display name.

Map gets lasso selection mode

Last week, portatour® was enriched with a new feature that we are sure you will enjoy using: the selection of customers on the map – also with a lasso or polygon.

Here is how it works: open the map and in the upper-right corner, click the cogwheel and then select Enable selection mode. The map changes to selection mode, which you will recognize from a new bar at the top, as well as by the map’s darker background color.

You have three options to select customers:

  • Individual selection: Simply click the desired customers, one after another. You will recognize selected customers by the customer marker’s blue border.
  • Selection with lasso: To enable the lasso mode, in the upper-right corner, click the lasso symbol. Next, circle the desired customers by clicking and holding the mouse button. To complete selection, release the mouse button. If you want to select customers of another region with the lasso, once again, in the upper-right corner, click the lasso symbol . The lasso also works on touchscreens with fingers and/or pens.
  • Selection with polygon: Click the lasso symbol. This time, click the required corner points of the desired region one after another. A polygon is thus composed. To end the selection, double-click the polygon’s end point or just click the polygon’s starting point.

Here’s an example of a lasso selection:

The total number of selected customers is shown in the button “Edit X selected customers”. Click this button to edit all selected customers in one go. You will be led to the mass editing page, which you already know from the customer list.

Hint: If you selected a customer by mistake, remove the selection by simply clicking the customer in question. If you want to remove the selection of all customers in one go, exit the selection mode by clicking the X-symbol in the upper-right corner.

Here are some usage examples for the new map selection mode:

  • To redivide your territory by transferring customers of a certain region to another colleague. The selection mode is an alternative or addition to filtering by ZIP code.
  • To share customers in a region with a colleague and geographically divide them into “can be scheduled in even weeks” and “can be scheduled in odd weeks”. See “One client – multiple reps: portatour® helps with coordination”
  • To edit the business hours (=visit times) of customers in a certain region – e.g. mark certain days as “preferred”.
  • To select customers for the next schedule calculation if you use manual scheduling with reservations instead of portatour®’s automatic planning.
  • To count the customers in a certain region.

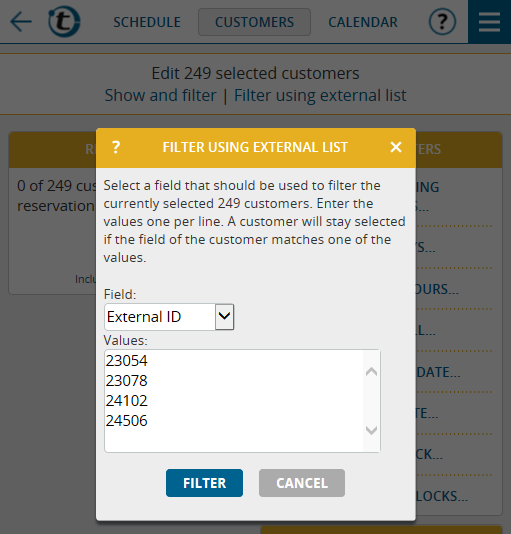
Hint: If you do not want to see all of your customers on the map but rather only those that meet certain criteria, use the extended search at the top of the customer list and then click the map button. In this way, the selection mode will only be applied to the filtered customers.

We hope you enjoy the new lasso and look forward receiving your feedback at feedback@portatour.com

One client – multiple reps: portatour® helps with coordination

Especially from the pharmaceutical industry, we have often heard the requirement that one client should be visited by two or even three sales reps on a regular basis in order to provide even more attention to the client. In this case, you have to avoid those field reps from “coming and going constantly” to the same customer. Ideally, just one rep should call on a customer in a given week. This means however a lot of coordination effort.

portatour® offers support for this with today’s update. It is possible to determine a so-called “Scheduling restriction” on the basis of calendar weeks individually per customer. To enter it, click the pen-symbol of the Scheduling parameters on the customer detail page.

Planungseinschraenkung-EN

If, for example, a customer should be visited regularly by two colleagues, the first rep sets the scheduling restriction on “Only in even weeks” for this customer, whereas the second rep sets it to “Only in odd weeks“. In this way, it is ensured that the client is never suggested for a call by both colleagues in the same week when portatour® does automatic call planning.

The modification of customers’ scheduling restrictions is also available through the extended customer search and the subsequent mass editing. In this way, the scheduling restriction can easily be set by postal code. Additionally, the customer export and reimport also allows an en masse setting of the scheduling restriction.

Hint: If two colleagues share the same territory, we recommend subdividing it into two halves, e.g. South/North or city/suburbs. For each sub-territory, the colleagues set opposite scheduling restrictions. Through this process, you support the planning of mileage-optimized routes, since in one given week, only the customers of a compact geographical region are taken into account.

To check the scheduling restrictions, the coloring of the customers on the map can be shown according to the restriction. Just click on the cogwheel-symbol on the right upper corner and then on “Color: scheduling restriction“:

Planungseinschraenkung-Landkarte-EN

Please note:

  • The scheduling restriction “Only in even weeks” does not automatically mean that the customer is scheduled every 2 weeks. The frequency is still determined by the set call interval. The scheduling restriction only means that a customer call is only to be suggested in even weeks. The shortest reasonable call interval when using this scheduling restriction is therefore 14 days. 
  • Both colleagues have to set the scheduling restrictions for shared customers separately – and in the opposite way. It is not sufficient that only one of them sets the restriction.
  • Do you want to filter your customer list for those customers who do not yet have a scheduling restriction? Or customers who can be visited today according to the scheduling restriction? Use the extended customer search! There, you will find the new filter “Scheduling restriction”.
  • If a customer is visited by three colleagues, you would use the scheduling restriction “Only every 3rd week”, whereat the first rep chooses the restriction “from CW 1”, the second one “from CW 2” and the third colleague “from CW 3”. “from CW 1” means that the calendar weeks 1, 4, 7, 10 etc. are allowed. “from CW 2” means calendar weeks 2, 5, 8, 11, etc. “from CW 3” it is analogous again to one week later. The shortest reasonable call interval in this case is 21 days.
  • Manually created appointments at customers have highest priority and are also possible in weeks with scheduling restrictions. With the appointment feature “Find suitable day” however, days with scheduling restriction are marked in grey to remind you that a colleague will possibly also visit this customer during this week.

User groups

Today’s update provides a new interesting feature in portatour® for companies with at least 10 field reps: The assignment of user accounts to user groups.

What is the purpose of user groups?

Without user groups every supervisor can log into all other user accounts with a single click. If this is what you want in the future, then you won’t need user groups.

If, however, you want to restrict the access to certain users, then the new user groups will be just the thing for you. If, for example, you have divided your sales territory into areas with area managers (=supervisors), who each shall only have access to their own team of sales reps.

How to activate user groups

The activation and editing of user groups is exclusively reserved to administrators of company accounts with at least 10 licenses. Go to Options and User Management and click the new button User groups in the menu bar.

This opens a window where you click the button Enable user groups. During the enabling process all users will be initially assigned to the automatically created user group called “default group“. Hint: This will not modify portatour®’s behavior as all users still belong to the same user group after this step.

How to administer user groups

Go to the already known editing window of individual user accounts to create user groups and to assign users at the same time.

Click New group to create a new user group. Then enter the name of the new user group. All existing user groups will be shown in the Member of list. Select those groups the user should be a member of. Multiple selection is possible − in Windows press the Ctrl key while clicking. User groups without members will be automatically removed.

Administrators will always have access to all users, irrespective of the user groups. The user list allows you to filter by user groups, which improves clarity in case you have many users.

Exemplary implementation of user groups

Take the following steps in order to create the above example of sales areas:

  1. Edit the sales manager of the first area
  2. Click “New group” and enter the name of the area, e.g. “Area North”
  3. Unselect the “default group” membership. Only “Area North” shall be selected.
  4. Save the sales manager
  5. Then edit one sales rep after the other for that region
  6. Select “Area North” under “Member of”. Only “Area North” shall be selected.
  7. Save the user

Repeat steps 1-7 for every sales area.

Subsequently, each sales manager can only see the members of his respective territory in the user list and can only log into those user accounts.

The company’s supra-regional sales manager becomes a member of all user groups to ensure he has access to all users.

Summary of user groups’ effects

  • Supervisors will only see those users in the user list who are members of a common group.
  • Subsequently, supervisors can only log into those user accounts whom they can see in the user list.
  • Users and supervisors can only use the “Transfer customers” feature for target users who are members of a common group.
  • If a supervisor carries out an application check it will only contain users who are members of a common group.

Further hints for user groups

  • As soon as you have enabled user groups every user must be a member of at least one group. This is why initially the “default group” will be created and each user will be a member of that group at first. Proceed to creating own groups and remove the “default group” membership. As long as all users are members of the “default group” you will achieve no access limitations.
  • The names of user groups may not exceed 40 characters.
  • One user may be a member of no more than 25 groups.
  • User groups without members will be automatically deleted. Thus, remove all memberships in order to explicitly delete a user group. To find the members, filter the user list for the group to be deleted.
  • A user group’s name cannot be changed retrospectively as it is used as a key. Instead, create a new group and assign new users to it.
  • You can mass edit user groups by exporting and importing the user list as an Excel or CSV file. The file contains the new column “user groups”, in which the groups − separated by semicolons − can be exported or imported. This also enables the automated synchronization of user groups via API.
  • Whenever you disable the user groups on a company level, all user groups and memberships will be deleted.

We hope you enjoy the new user groups and look forward to receiving your feedback on feedback@portatour.com .
New fields for users

If you have a portatour® company account − i.e. you own at least 2 user licenses − then your portatour® user database has obtained two new optional fields with today’s update of portatour®. Both fields can be modified via editing the user or be exported and imported via an Excel or CSV file.

  • Employee number: This field allows you to assign a unique number (or sequence of characters) to each user in order to identify the users for export and import purposes via API instead of using their e-mail addresses. The respective parameter of the API features is called “employeeNumber” − please refer to the technical API documentation in the options. The advantage of using the employee number and not the e-mail address in the API is that the employee number, as opposed to the e-mail address, does normally not change and ideally originates directly from your ERP/CRM system − e.g. the ID of the user data record.
  • Note: This free text field allows you to enter any information that might be of interest to the administrator. It is only shown when editing the user and will not be used internally by portatour®.

Different fields per report type

The portatour® user community really appreciates the custom fields of the reports. We have often heard the wish to show different fields per report type, e.g. other fields for a successful customer visit than for a client you missed. As of today, this is possible!

You or your administrator goes to Options > Custom fields > Reports. There you define which group of fields should be shown for which report type.

Feldgruppe-Eigenschaften-EN-neu
It is also possible to show a group of fields for multiple report types – e.g. mileage for the report for start of work and end of work. Just select multiple report types in the selection box (hold the Ctrl-key).

portatour® differentiates between the following report types:

  • Call: When clicking on “Called now” at a customer or “Took place” for a customer appointment
  • Missed: When clicking on “Missed” at a customer or customer appointment
  • Other: For appointments without location (=phone call) or without customer reference, for “My places” and when clicking on “New report” at a customer
  • Start of work: When clicking on “Clock in”
  • End of work: When clicking on “Clock out”
  • Day off: When clicking on “Report day off”

While entering the report you can determine its type by looking at the window title.

Please note:

  • The maximum number of custom fields for reports is 100 – irrespective of the subdivision into report types. The export always contains all fields. Those fields which are not shown for a report type are empty in the respective line.
  • The field names have to be unique because of the import and export – irrespective of the report types.
  • Modifications of custom fields possibly lead to changes of the import and export columns. Be aware of that when you run automated processes.

Better assistance in report entry

Highlighting of mandatory fields

Fields defined as mandatory are highlighted with a red line until you enter information. By the way, as of now this applies to entire portatour® – not just for the report entry.
Pflichtfeld-EN

Description of custom fields

The descriptions you can enter for the custom fields in the options are now visible for users when they click on the underlined field name. Like this, it is easy to show a help text for individual fields. By the way: If the field name is automatically shortened because it is too long, one click is enough to show the whole field name.

Feld-unterstrichen-EN

Feld-Beschreibung-EN

Please note:

  • This new feature also applies to custom fields for customers and appointments.
  • If you want to remove the underline from a field name, remove the description text or abbreviate the field name to a maximum of 10 characters.
  • Modifications of custom fields possibly lead to changes of the import and export columns. Be aware of that if you run automated processes.

Cancelling the report entry

Until now, a click on “Called now” at a customer has updated the last visit date of the customer in any case, even if you clicked on “Cancel” during the following report entry.

As of now, if you create a report by clicking on “Called now”, the last visit date of the customer is not updated until you save the report. If you cancel the report entry, the last visit date will remain unchanged – that avoids disorientation and data inconsistencies.

If you let create and open reports automatically (see Options > Reporting), saving the report is absolutely necessary in order to update the last call date of the customer.

In case you want to create reports just optionally (see Options > Reporting), the query is now more intuitively designed:

Abfrage-Besuchsbericht-ENThis modification also applies for reports when clicking on “Missed” if you have enabled reports for that case.